Sabtu, 19 Februari 2011

Creating Smoke

Step 1. Create a document with a black background. On a new layer, draw something similar to what you see here using a soft edged brush. Make sure at all times throughout this tutorial, that the smoke layers are not merged with the black background layer.


Step 2. Duplicate the layer and Gaussian blur it. I used a setting of 23. Then merge the two layers.


Step 3. Duplicate the newly merged layer. alt/click the layer to select it, then go to select/ modify/ contract. I choose 10 pixels. Then invert the selection, and delete. It should now leave a thinner version of what you had on the other layer. Then lower the opacity of the layer behind it.


Step 4. Merge layers. Then duplicate the layer again, and resize it, and move it to somewhere else in the smoke. I moved mine to the top and center, and then flipped it.


Step 5. I then used the liquify filter on both layers, slightly tweaking both layers to give it more of a smoke effect. Now merge the layer.


Step 6. Now duplicate the freshly merged layers once again. I then went to filters/distort/wave. Use the default settings. Then lower the opacity of the filtered layer. Merge both layers.


Step 7. Now duplicate the layer and go to control T, and make the smoke thinner and taller. Merge the layers.


Step 8. I ran it through filter/liquify again. I tweaked it a little more to give it more of a smoky feel.

Step 9. Create a new layer and set it to overly. With whatever color you would like, start to give the smoke some color. I used a reddish color.


Step 10. I repeated step 9, and added some blue to the smoke.


And there you have it. Smoke in Photoshop.

Smokey

Step 1

Open up a new document (600X250px) and create a new layer called ‘black background’. Fill your entire canvas with black.

Step 2

Now add some white text to the center of your canvas. I used the font ‘Gill Sans’ set to bold.

Step 3

Now duplicate your text layer. Select your original and rasterize it (layer>rasterize>layer). Then apply a motion blur to this layer by going to filter>blur>motion blur. Set your angle to 90 and your blur strength to 20. Finally reduce your layer’s opacity to 60%.


Step 4

Now paste in an image of some smoke. Make sure that you find an image of smoke on a black background, and if there is any color to your smoke go to image>adjustments>desaturate. Then change your layer’s blend mode to ‘exclusion’.

Step 5

Now select a large, soft eraser brush at a low opacity (around 10%) and erase the edges of your smoke image.

Step 6

Now repeat the same technique with another smoke image.

Step 7

Add some more smoke, being sure to erase parts of each image until things are looking good.

Step 8

Now paste in another smoke image, and set your layer blend mode to ‘multiply’. Then go to image>adjustments>levels and set your input levels to 0, 1.00, 100.

Step 9

You’ll notice that this layer now hides some of your previous smoke layers. To fix this grab a soft eraser brush and erase around your letters, exposing the rest of your smoke.

Step 10

Now if you remember we created 2 text layers earlier and rasterized the first one. Now it’s time to rasterize the second one. Once you have done this grab your smudge tool, and set your brush size to 40px and your strength to 60%. You want to start smudging the tops of the letters of your top text layer. To achieve a nice smokey effect, don’t simply smudge upwards, but make small circular smudging motions.
Also reduce this text layers opacity to 75%.

Step 11

Select your paintbrush tool and apply the settings shown below in your brush palette.


Step 12

Now paint over your text on a new top layer. To make your scattered brush marks more obvious duplicate your layer and merge it down with the original. Then apply an outer glow blending option to your layer (settings below).

Smoke

Step 1

Open Photoshop and create a new document, I used 1920x1200 pixels. Then apply a gradient, you could fill it with a gradient or apply a Layer Style. I used the layer style, Gradient Overlay. Use Radial for the Style and #07090a - #202b35 for the colors.

Step 2

Add some text in white then go to Filter>Blur>Motion Blur. Use 90ยบ for the Angle, and 40 pixels for the Distance.

Step 3

Now go to Filter>Distort>Wave. use 3 for the Number of Generators, 10 and 346 for the Wavelength, and 5 and 35 for the Amplitude.
Smoke Typography

Step 4

Go to Filter>Blur>Gaussian Blur. Use 10 pixels for the Radius. Then group the layer and rename the folder's Blend Mode to Color Dodge. You will get a nice light effect.
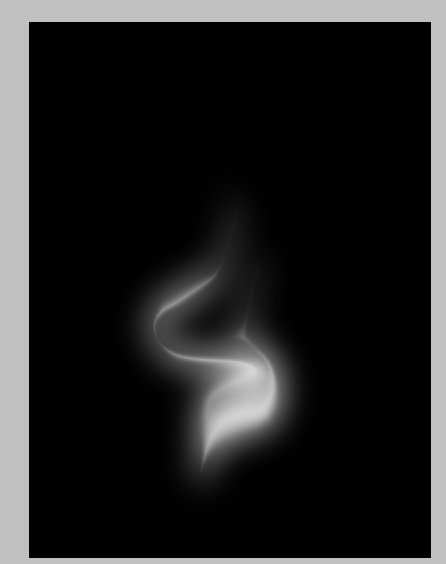
Step 5

Create a new layer on top of the others and go to Filter>Render>Clouds, make sure you had black and white for the background and foreground colors, then change the Blend Mode to Color Dodge and go to Layer>Layer Mask>Reveal All. With a very soft brush, 0% hardness and black color, hide some areas of the clouds layer. Use the image below for reference.
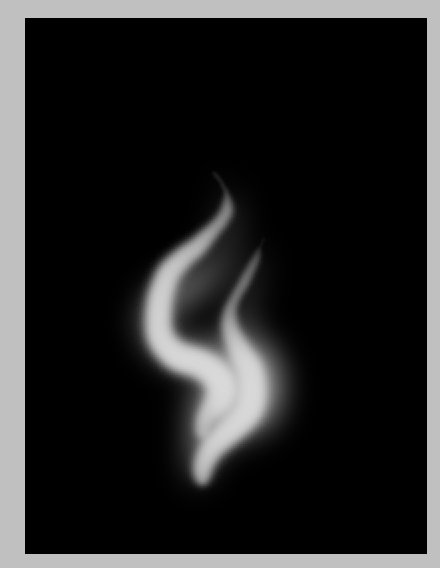
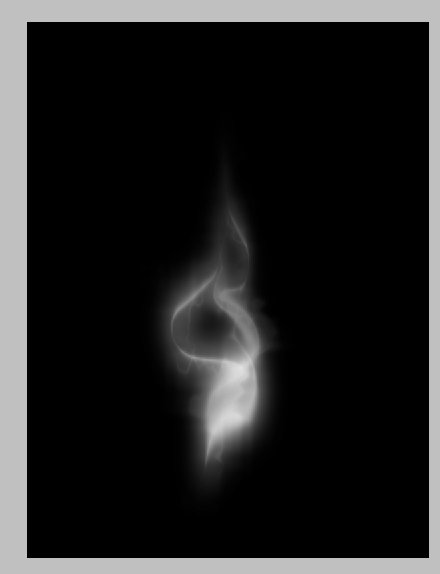
Step 6

Create a new Folder on the Layers' Palette. Change the folder's Blend Mode to Color Dodge and add a new layer in it. Then use the Smoke Brushes from Qbrushes . Select white for the color and paint over some letters. If you think the brush is not very bright, just click twice.
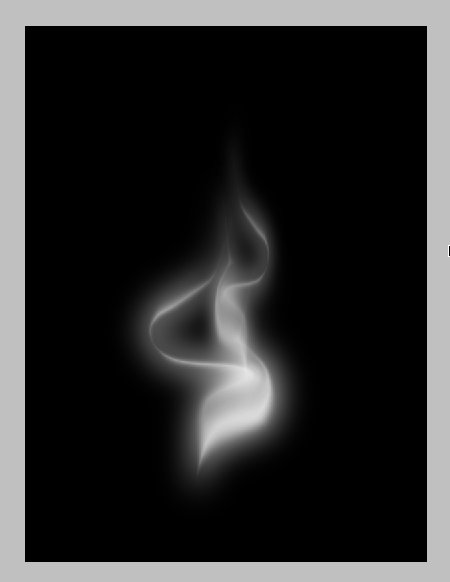
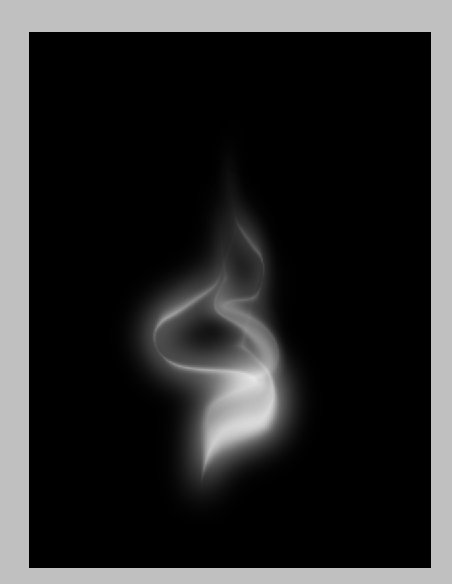
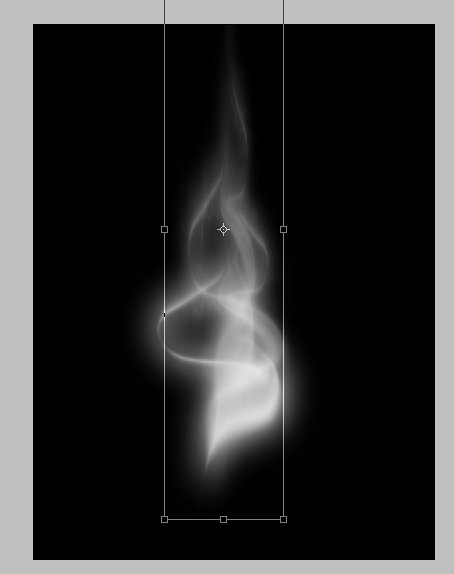
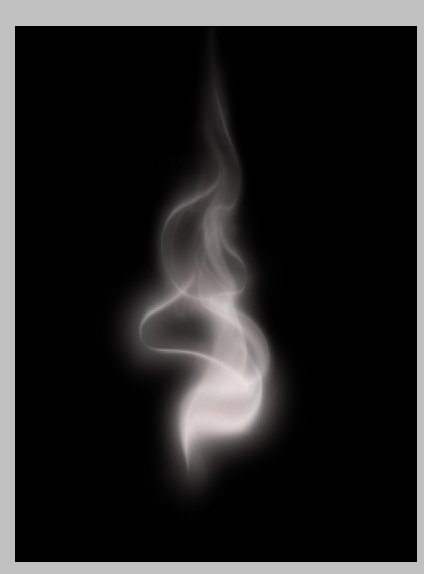
Step 7

Paint a few more smokes like the image below.

Step 8

Create a new layer beneath the other layers but in front of the Background layer. Fill this layer with black and go to Filter>Texture>Texturizer. Use 100% for the Scaling and 4 for the Relief. For the Texture use Canvas and Light use Top. That will add a nice texture to the image but you will need to change the opacity to 10%.

Step 9

This is a nice new feature in the new Photoshop CS4, actually there's nothing new just the Adjustments palette, but it's very useful because you can edit all the image adjustments like Levels, Hue & Saturation, Curves in that palette. However it just adds a Adjustment Layer, that could be done in the previous versions too.
Anyway, on top of the other layers just add the Invert adjustment. You can go to Layer>New Adjustment Layer>Invert. It will be the same. You will get a very nice effect, like burning paper.

Conclusion

One of the best things in Photoshop is the Brushes Engine and all the things we can create with brushes. With so many excellent sites with Brushes like Brusheezy, Tutorial9, QBrushes, DeviantArt, and PSDTUTS we can find practically all sorts of effects and elements ready to be used in our designs. That means we can focus on ideas rather than figure out ways to recreate things. Also we have 2 very different effects with just one adjustment layer, the Invert. Once again, it's all about playing. I hope you enjoyed this quick tutorial, and let me know if you have any questions.

Smoke Effect

1. Step one, open a new image, it doesn't really matter what size but be sure to set your background color to black. (this effect generally looks its best on a black background.) Make a new layer and select the "Polygonal lasso tool" and create an abstract shape that looks similar to the example below.(It doesn't really matter what color you use here either, but just don't make it too dark, and feel free to experiment.)


2. Now we can start our highlights of our smoke. Select the "Dodge" tool and make the brush size around "50" and the "Range" to "highlights." Now use this tool around the edges and corners of your shape. Next, select the "Burn tool" and use it in the middle and wherever you see fit. You should have somthing that looks like this:


3. Here we can make it look like smoke now. Go to "filter"/"Distort"/"Wave." And make the settings as follows:

- Generators "5"
- Wavelength "10"/"120"
- Amplitude "5"/"35"
- Scale at "100%" for both.

4. Right after you have used the "wave" filter you can go to "Edit"/"Fade-Wave" and set the opacity to "50%." Now repeat this distort and fade method many times, or untill you think it looks best.


5. To make this effect look even better you may have to "distort", resize, and change the blending modes when fading a bit. And lastly, to make it different colors instead of the same throughout. make a new layer and use the "brush" tool all over the place using different colors. then set that layers "blending mode" to "Overlay." And there you have it, a simple yet effective smoke method!

Creating Smoke-like Effects

Step 1
Open an image and create a new layer of it (Smoke Layer).
Original Image - Image ID: 3139128 © Andrea Haase 123RF.com


Step 2
Select the Polygonal Lasso Tool (L) and create an abstract shape that looks similar to the example shown below. Fill it with white (or any colors you wish your smoke to be).


Step 3
Now, to create the wavy smoke effect, go to Filter > Distort > Wave and set values as shown below:


Step 4
After you have used the Wave filter, you can go to Edit > Fade > Wave and set the opacity to 50% when the dialog box pops up.


Step 5
Repeat this distort and fade method for a few times to achieve the best results.


Step 6
Next, use the Smudge Tool (R) to reshape the smoke so that it looks more diffused and as if it is billowing out from the coffee beans (as shown below).


Step 7
Duplicate the Smoke Copy layer. Ctrl+Click on the layer to select it and go to Select > Modify > Contract: 7 pixels.


Step 8
Invert the selection (Ctrl+Shift+I) and press delete. It should have created a softer smoke effect now as compared to the other layer.


Step 9
Adjust the opacity of Smoke Layer to 70% and Smoke Copy Layer to 50% before merging them. This will help soften the shape further.


Step 10
Duplicate the layer again and resize it. Ctrl+T to transform and click on the Warp tool to reshape the smoke.


Step 11
Next, go to Filter > Blur > Gaussian Blur, set radius : 3 pixels.


Set the layer opacity to 80%.


Step 12
To add more smoke on the beans, create a new blank layer and draw a shape around it using the Lasso Tool (L).


Go to Select > Feather > 15 pixels.


Step 13
Fill it in white and use the Eraser Tool (E) to reshape the smoke.


Set the Smoke Copy Layer opacity to 80% and flatten the layers together.


This is the final image. Have fun trying it over a cup of steaming hot coffee!