Step 1
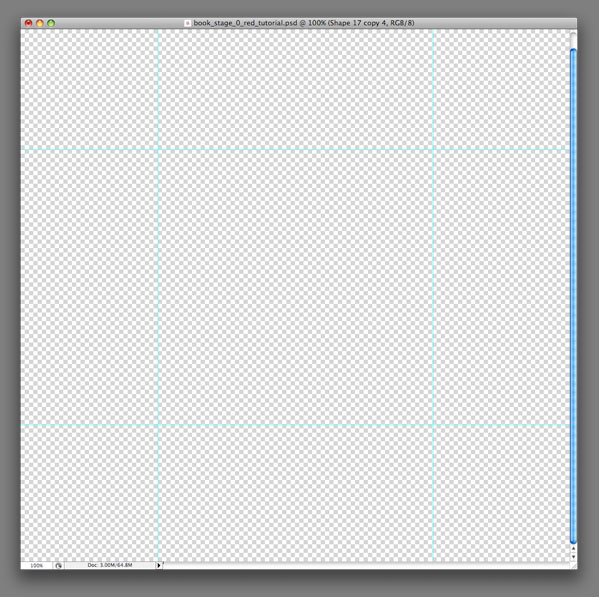
Create a New Document that is 1024 pixels by 1024 pixels. To define a 512px by 512px rectangle (Leopard icon standard) add four guides (View > New Guide).
Step 2
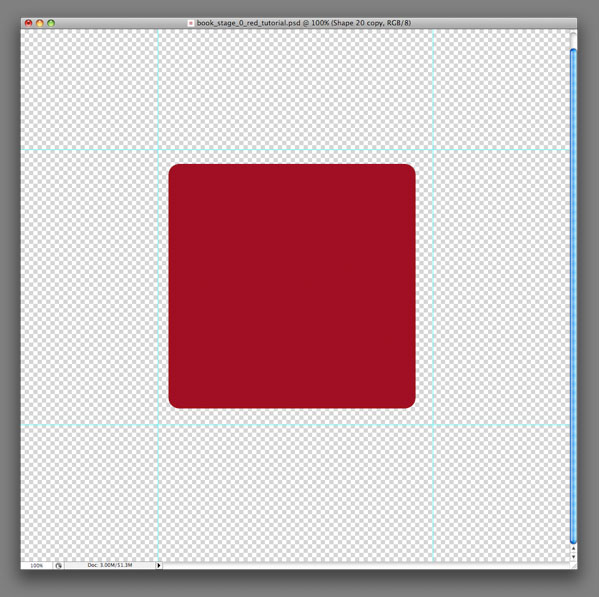
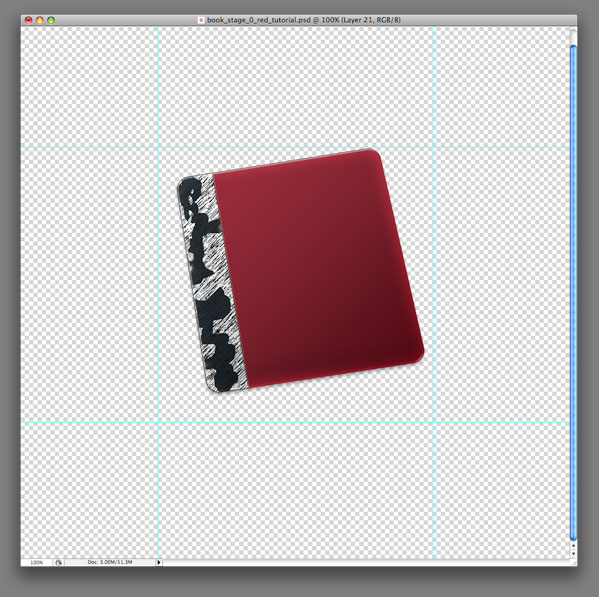
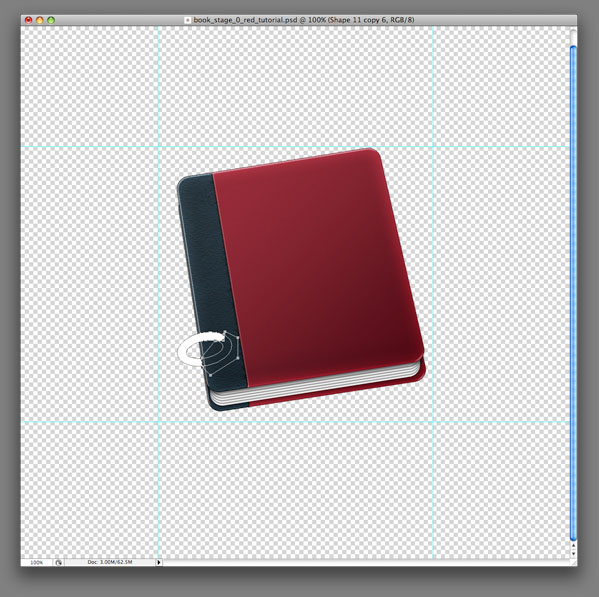
Create a New Layer and add a rounded rectangle (with a 20px diameter) as a shape layer. This will be the main shape of the book. I would like to have a red book, so I am going to choose a red color as the fill color. Let’s call this layer "Book Cover."
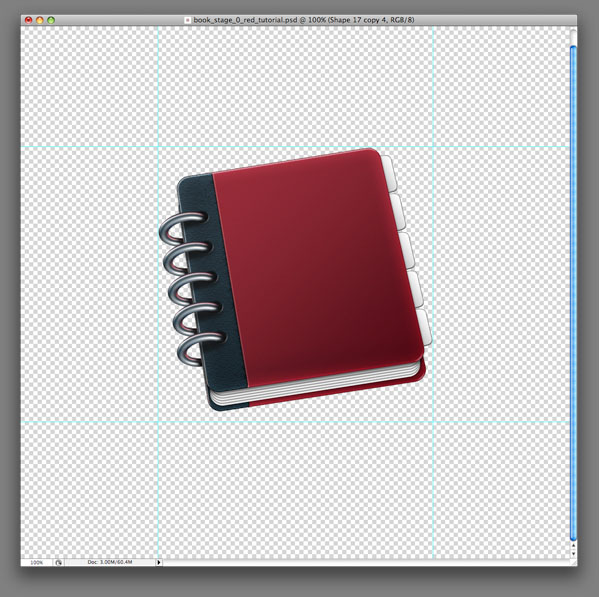
Step 3
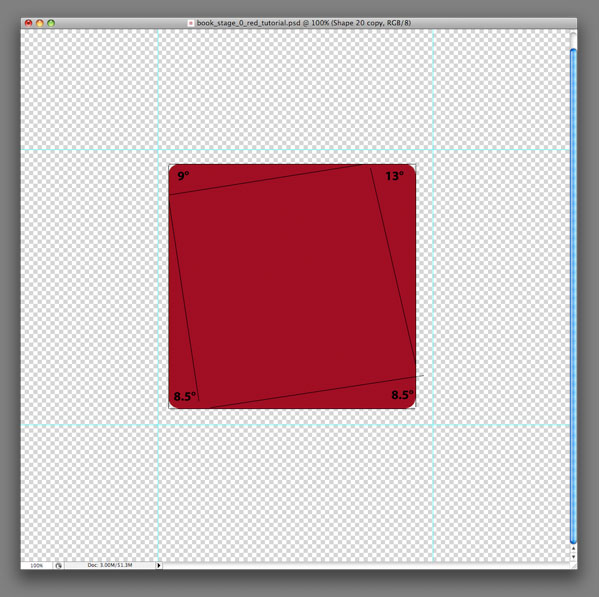
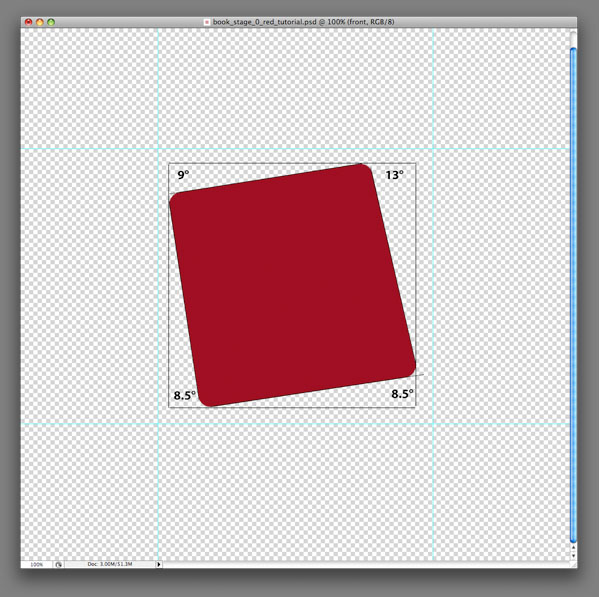
The books or the papers of Mac OSX icons have a specific perspective, see the image below.
Step 4
Take the Direct Selection Tool (A) and select two corner points (always two). Then align them to our guides (and then hide the guides). Copy the "Book Cover" layer one more time and rename it to "Paper." We are going to use this layer later, so hide it for now.
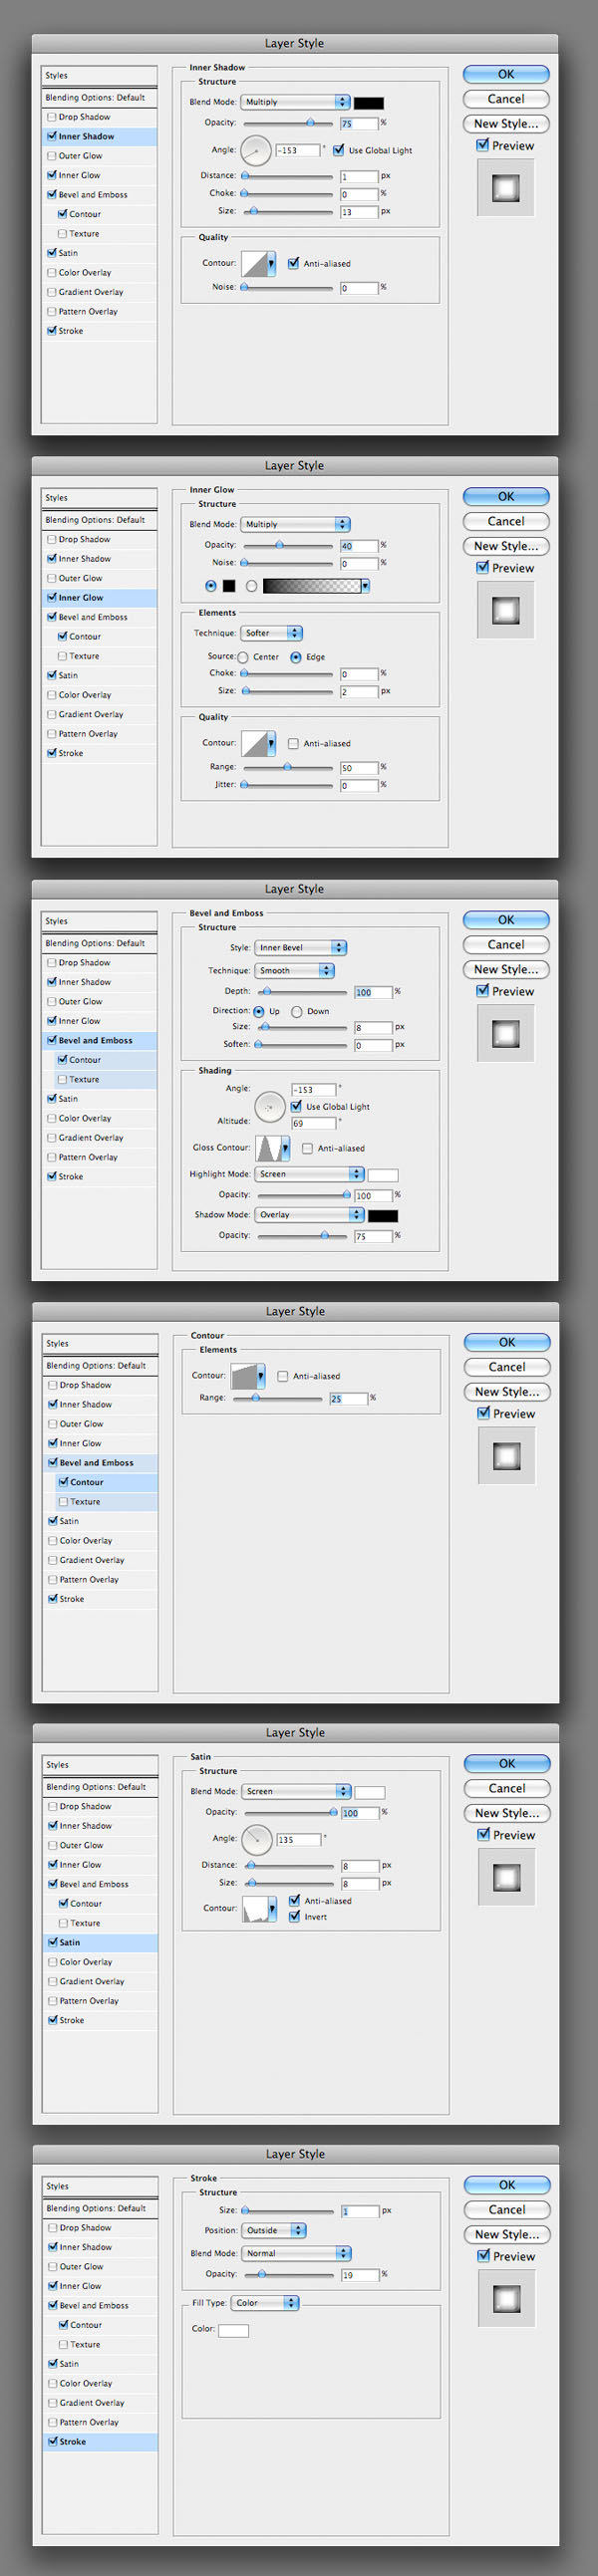
Step 5
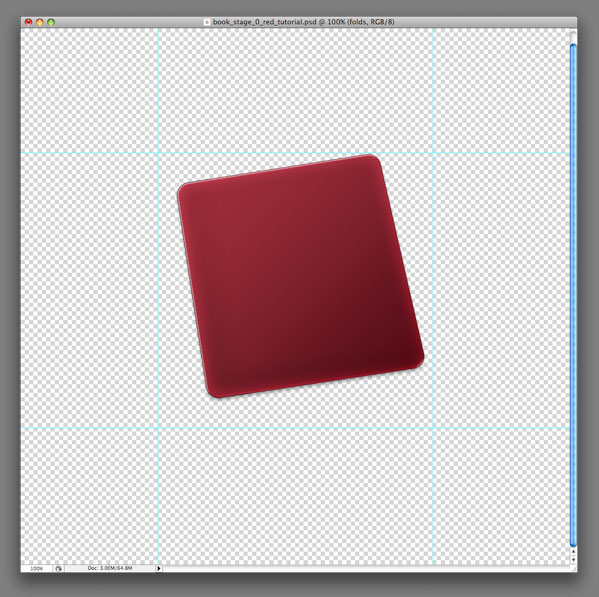
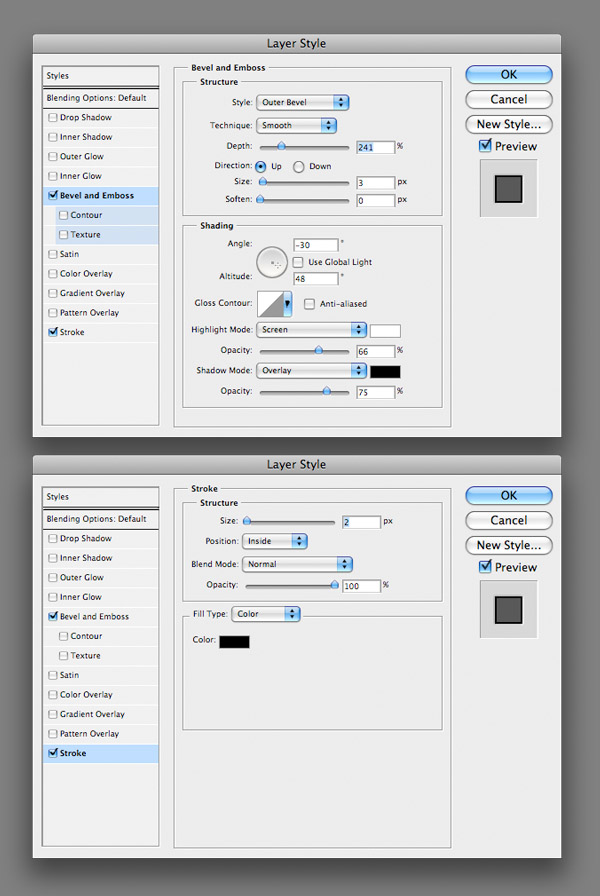
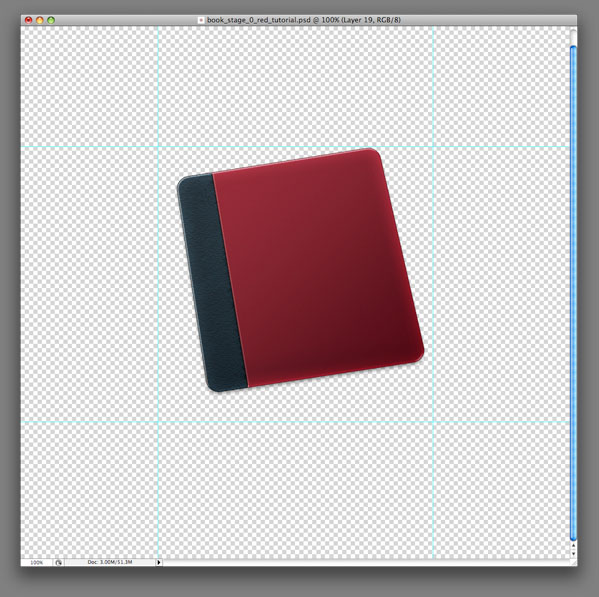
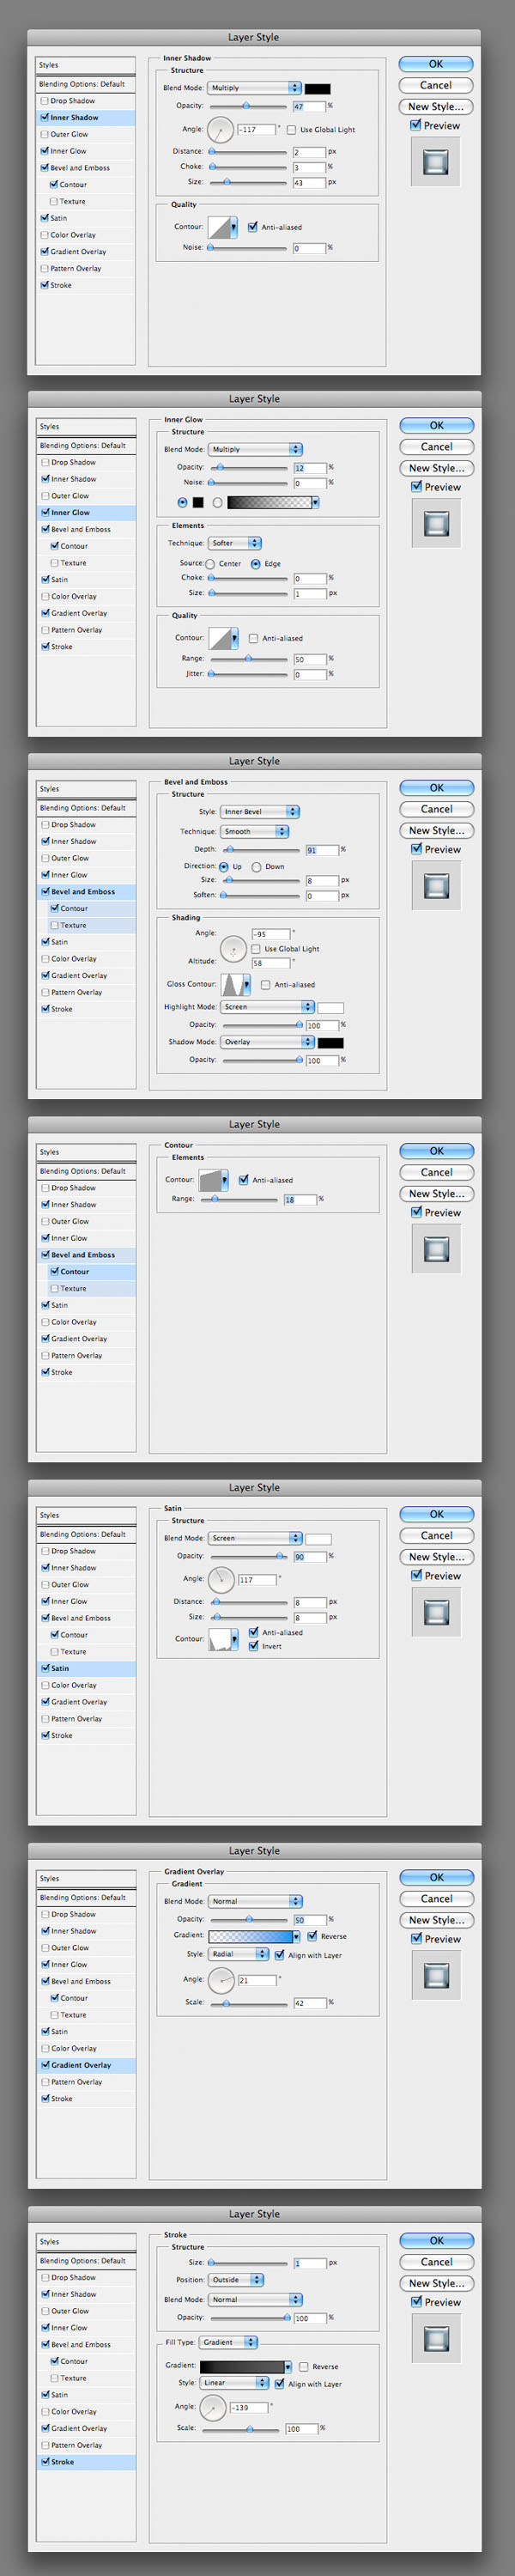
Double-click on the "Book Cover" to reveal Layer Style window and apply all the settings below. Don’t forget to check Blend Clipped Layers as Group in the Blending Options.
Step 6
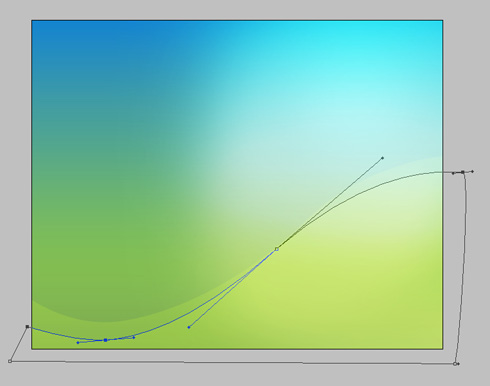
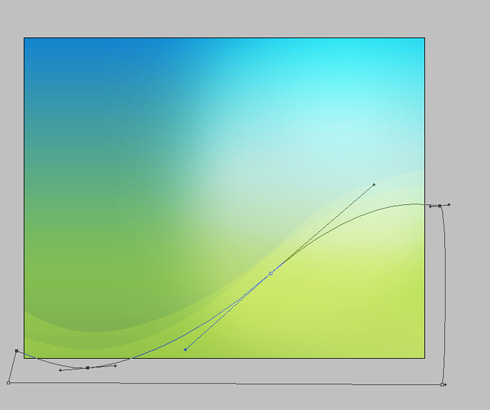
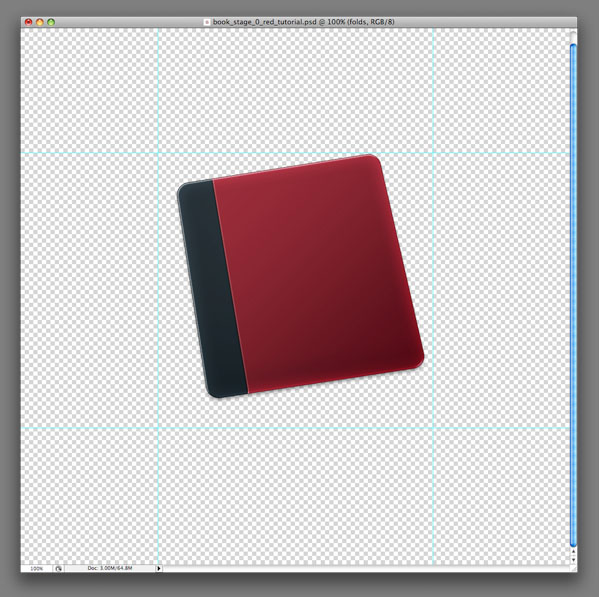
Create a New Layer, press Command + Alt + G to change the layer to a Clipping Mask. Select the Pen Tool (P) and make a dark blue wide line on the left. Let’s simply call it "Black Binding" because the dark blue looks like a black color.
Step 7
Apply these settings on the "Black Binding."
Step 8
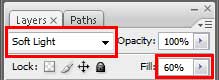
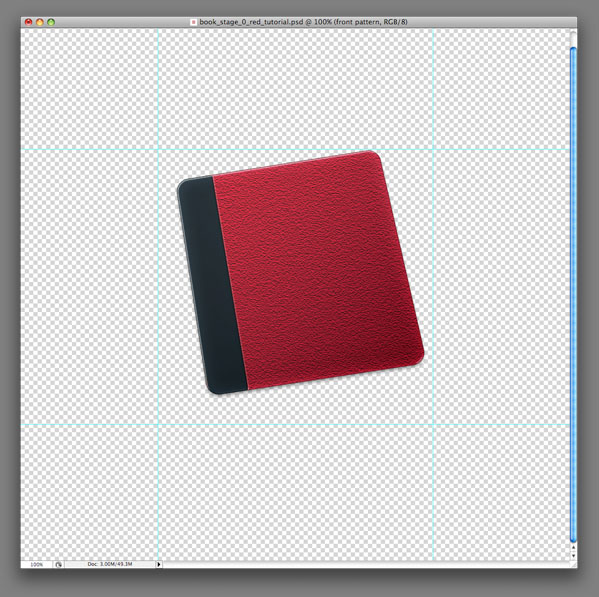
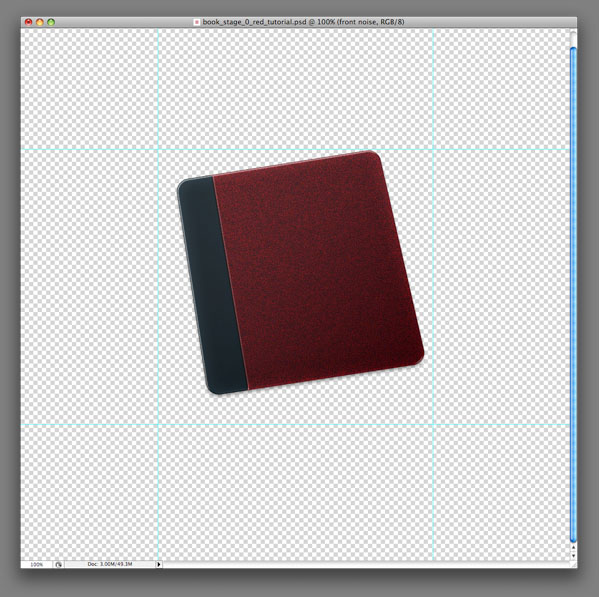
Add another two clipping masks to the book shape. These masks have to be under the "Black Binding" layer. Fill the first one with black. Next, go to Filter > Noise > Add Noise (apply an Amount of 75% and set the Distribution to Uniform). Also, change the Blending mode to Overlay and set the Opacity to 7%. On the second clipping mask apply the Note Paper Filter (with the Image Balance of 20, Graininess of 15, and Relief of 10). Change the Blending mode to Overlay and set the Opacity to 3%.
Step 9
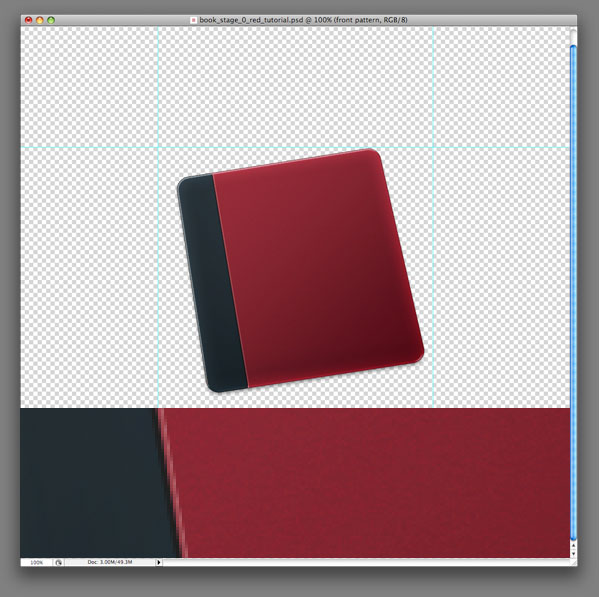
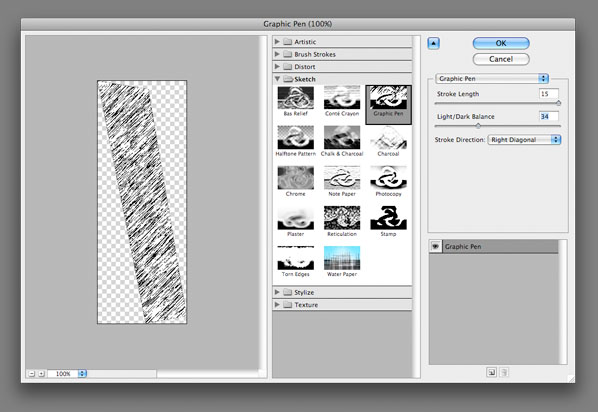
Let’s add some patterns to the "Black Binding." Create another two clipping masks, this time they have to be over the "Black Binding" layer, of course. Now we need to make a selection of the "Black Binding." So hold down Command and click on the vector mask of the "Black Binding." Fill the selection with a black color and apply the Graphic Pen filter with the settings below.
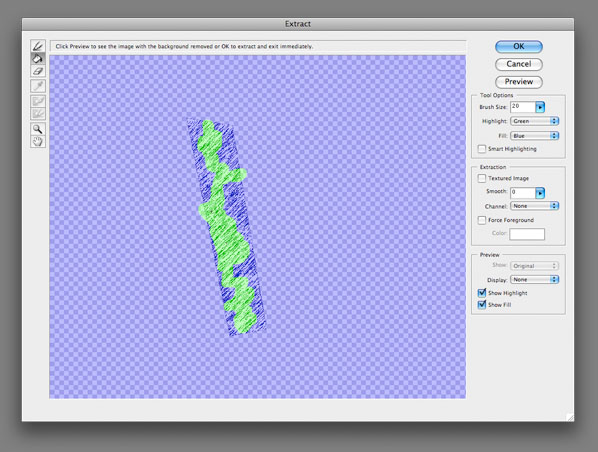
Step 10
Click on Extract (Command + Alt + X), and extract about half of the black strips from the white color.
Step 11
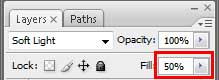
Change the Blending mode of this layer to Overlay and set the Opacity to 10%.
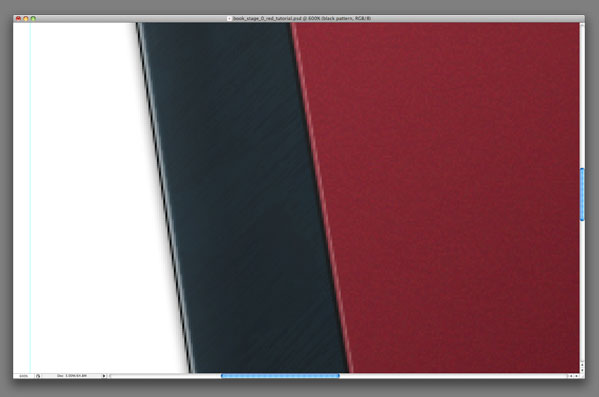
Step 12
Now we are going to repeat something from previous steps. So select the second clipping mask, which we created in Step 9. Do the same steps like in Step 9, but without applying the Graphic Pen filter. We are going to use the Note Paper filter as like as in Step 8, with the same settings (Image Balance – 20, Graininess – 15, Relief – 10). And again, change the Blending mode to Overlay and this time, leave the Opacity on 100%.
Step 13
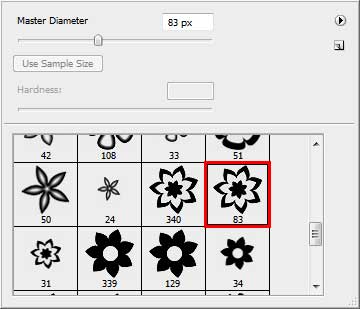
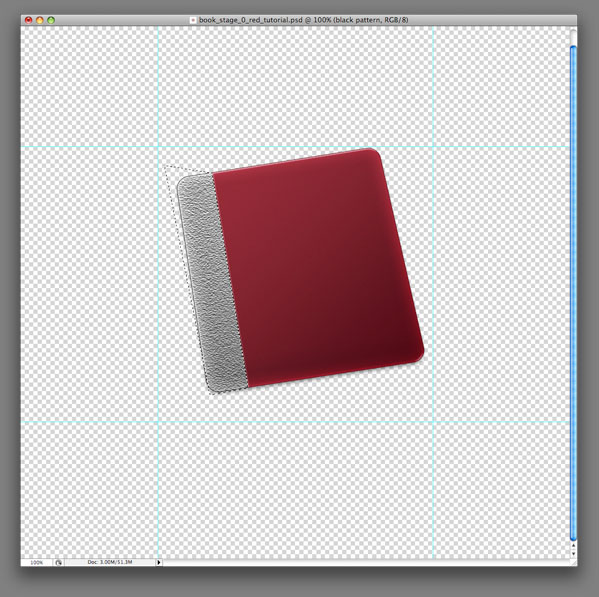
The last thing we need to do on the "Black Binding" (and on the book cover) is to add some visible scratches. Create a new layer above all "Book Cover" clipping masks. Select the Brush Tool and a Starburst Brush (you can find it in Assorted Brushes).
Grab a black color, then make a selection of the "Black Binding" (Command + click on the vector mask), and click several times to the right border of the selection. At the end, create a new group, call it "Front Cover." Move all the layers we used to draw the book cover there.
Step 14
So let’s add a back to our book. Copy the "Front Cover" group, rename it to "Back Cover" and move it under the "Front Cover" group.
Step 15
The "Back Cover" is almost similar to the "Front Cover." We need to hide only two layer effects. The first one is a Drop Shadow of the main book shape and the second one is a Bevel and Emboss of the "Black Binding" shape.
Step 16
Now it’s time to use the "Paper" layer from Step 4. So reveal this layer and grab the Direct Selection Tool. What we are going to do now is to scale down the "Paper" layer. But as you can see, we won’t be using Transformation because we need to retain the rounded corners of the paper on the same radius as the book cover corners. If we scale with Transformation, the radius of the corners scales too. Always, select two corner points and move them a little bit closer to the next corner. At last, change the fill color to white.
Step 17
Apply these settings to the "Paper" layer.
Step 18
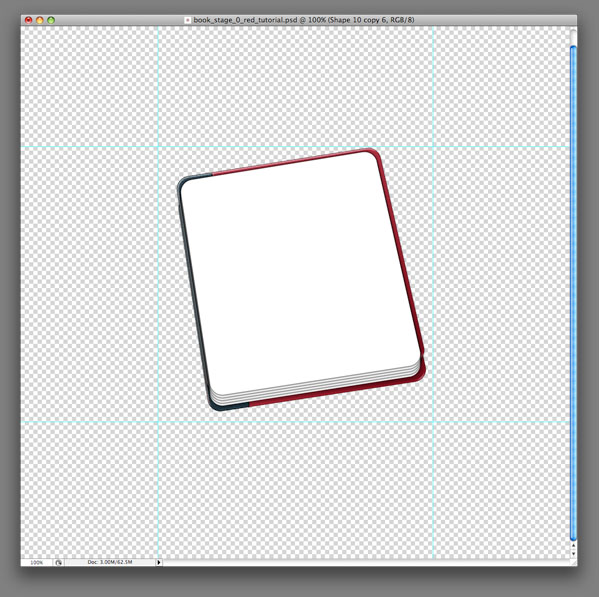
To create five papers, copy the Paper layer four times. After that, place them as shown below.
Step 19
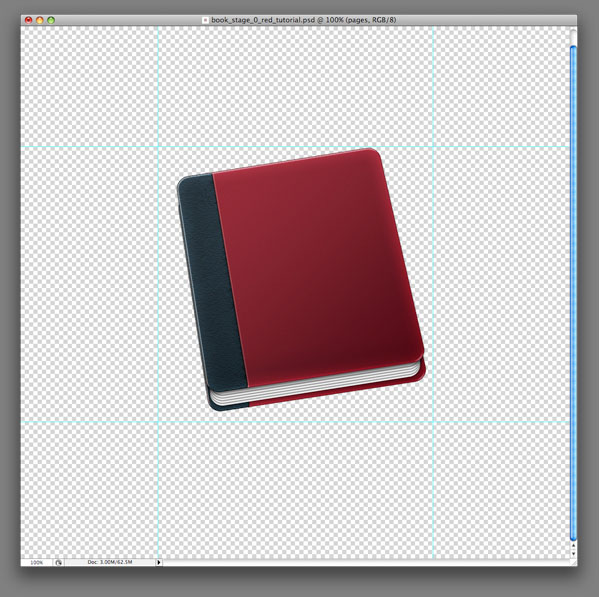
Create a New group, call it "Papers" and move all papers to this group. Place this group under the "Front Cover" group and over the "Back Cover" group.
Step 20
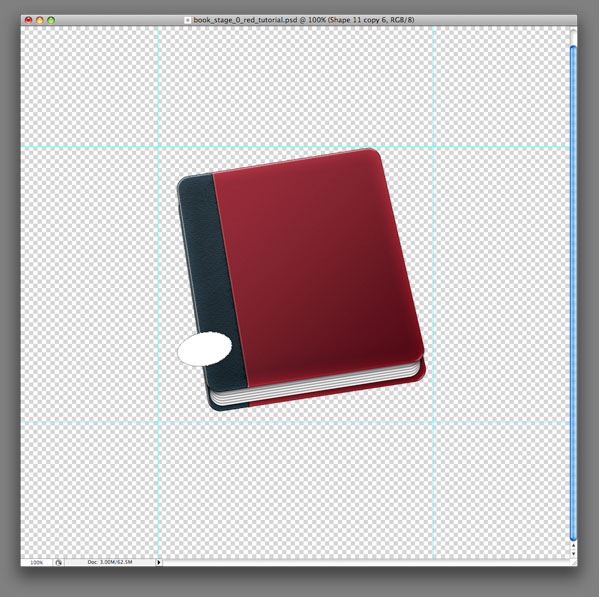
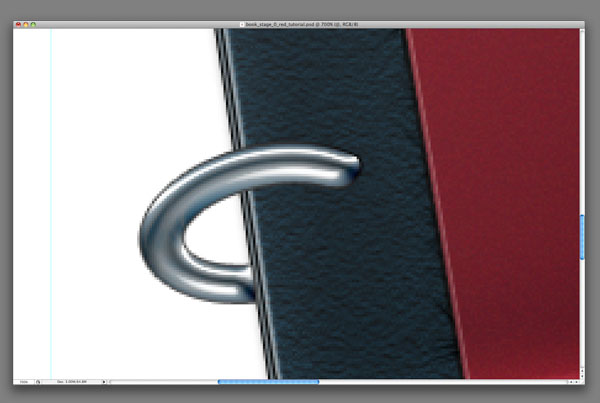
Something still missing? Rings, of course. So let’s do them. First, create an ellipse with the Ellipse Tool (U).
Step 21
Subtract another ellipse inside the first ellipse using the Ellipse Tool (U) in Subtract mode (-).
Step 22
Subtract the hidden part of the ring shape using the Pen Tool (P) in Subtract mode (-). Name this layer "Ring."
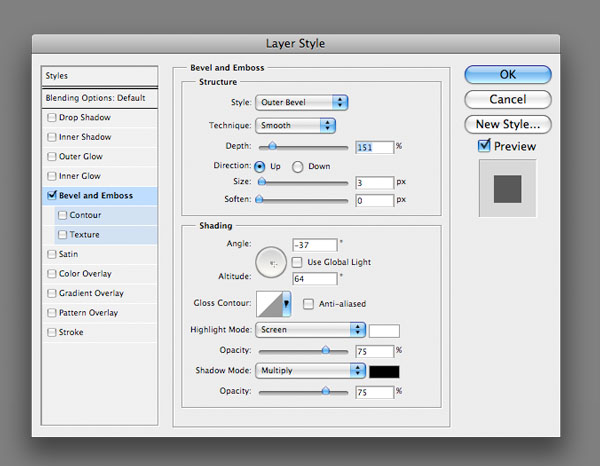
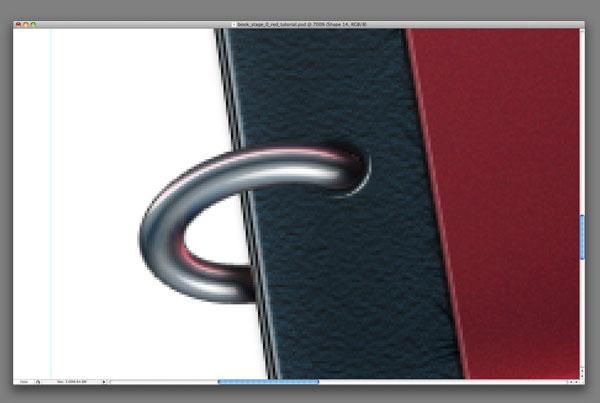
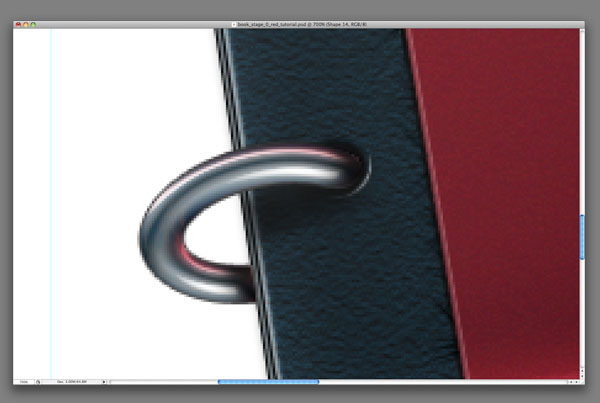
Step 23
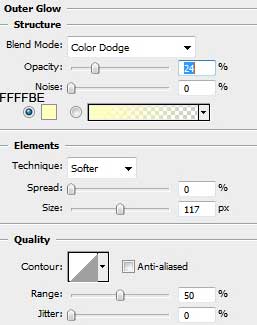
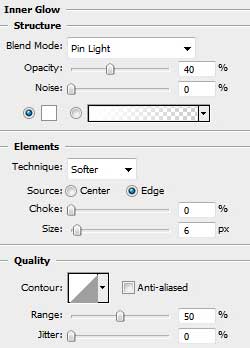
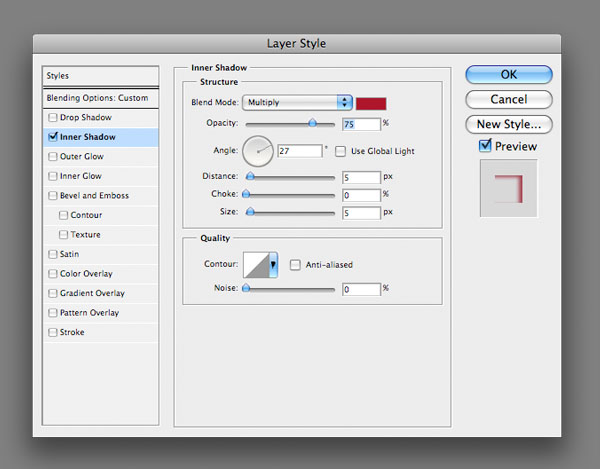
Apply these settings on the "Ring."
Step 24
To create a small reflection of the red color, duplicate the "Ring," clear layer styles, and apply these properties.
Step 25
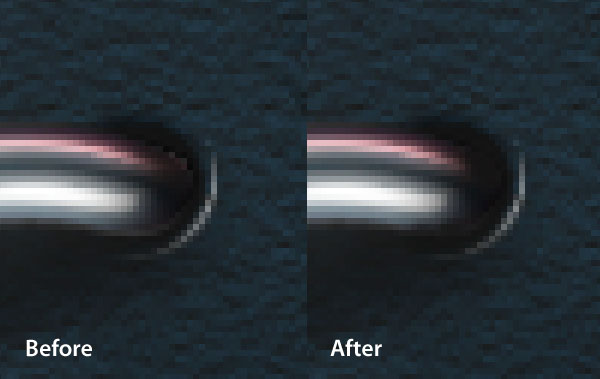
Add a New layer, name it "Ring shadow," then go to Layer > Vector Mask > Reveal All. Click on the vector mask of the "Ring" and copy the path to the "Ring Shadow" layer. Select this layer and use a soft black 100px Brush with 20% Opacity to add a black color to the ends of the "Ring."
Step 26
Create a "Ring Eye" with the Ellipse Tool (U).
Step 27
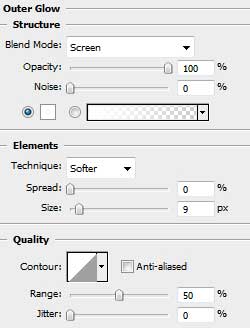
Apply these layer settings on the "Ring Eye."
Step 28
Add a New Layer under the "Ring" and over the "Ring Eye." Create a selection of the "Black Binding." Take a black 50px Brush with 30% Opacity and paint a shadow under the "Ring."
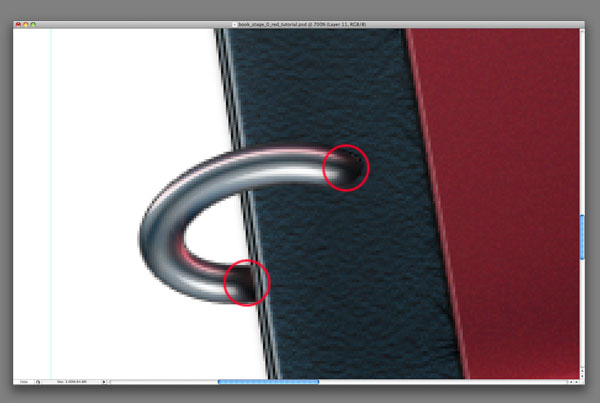
Step 29
As you can see, it is necessary to fix the border of the "Ring." Create a New Layer over all the "Ring" Clipping Masks and fix it with a small black brush.
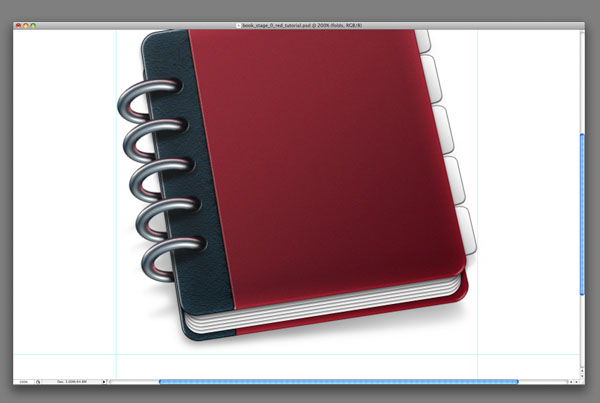
Step 30
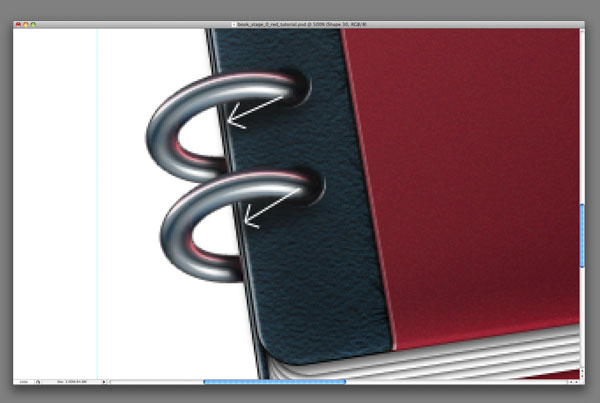
Create a New Group, name it "Ring Layers" and put all the "Ring" layers there. Then copy this group and move it up. The shadow under the second "Ring" should be a little different so rotate it a few degrees closer to the "Ring." To get five rings repeat this step three more times (without creating a New Group though).
Step 31
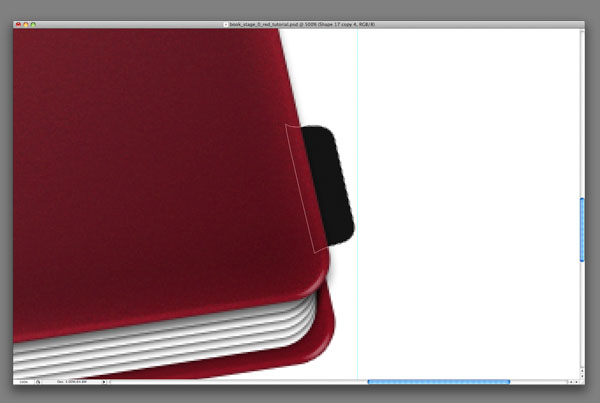
Select the Pen Tool (P) and make a shape of a fold, as in the picture below.
Step 32
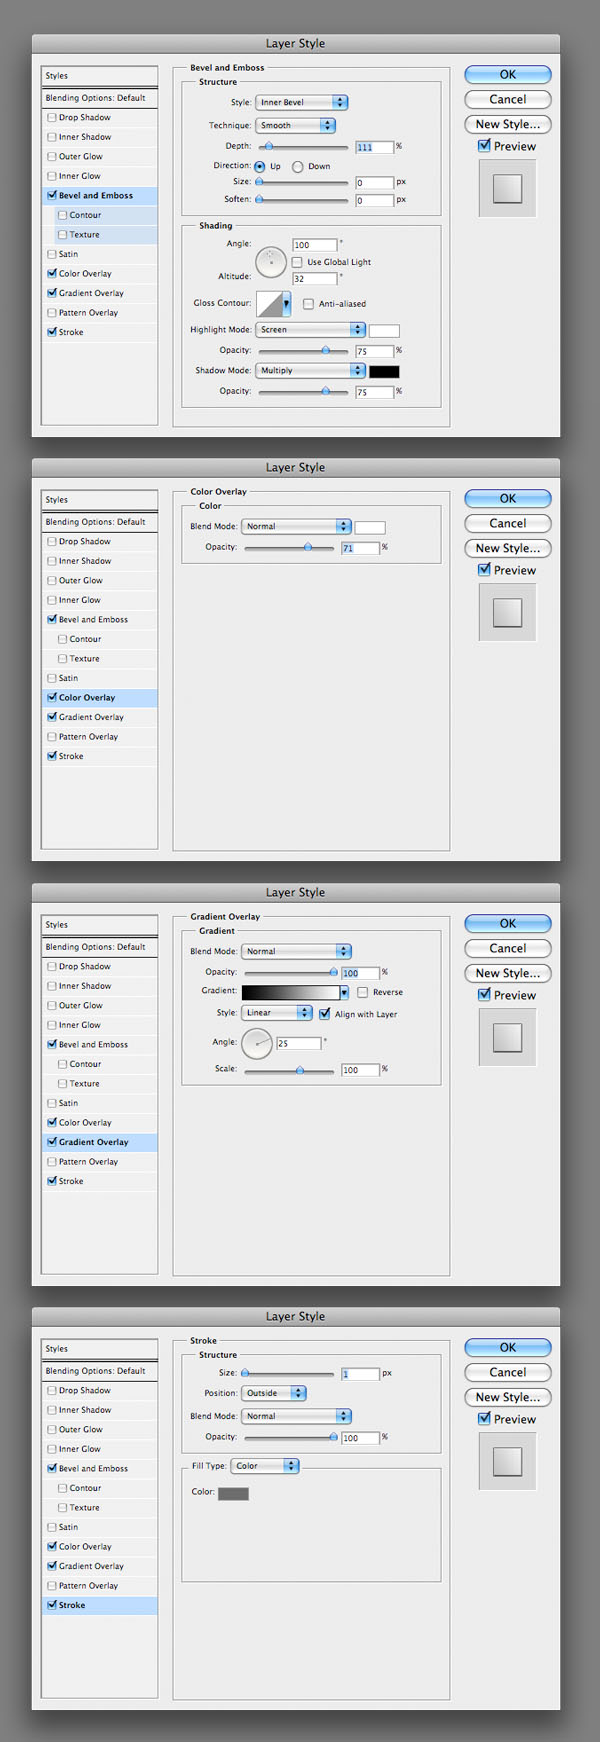
Apply the following properties on the "Fold."
Step 33
Duplicate the "Fold" four times.
Step 34
Ok, let’s add a shadow to the book. I’m not going to transform and blur the book shape, but instead I am using only the Brush Tool (B) and the Erase Tool (E). I think this way may be harder for you, but I hope if you do your best, the result will be more real. You can also play with the opacity of this layer, an important thing is that the shadow shouldn’t be too strong and dark (a swhite background helps us with this).
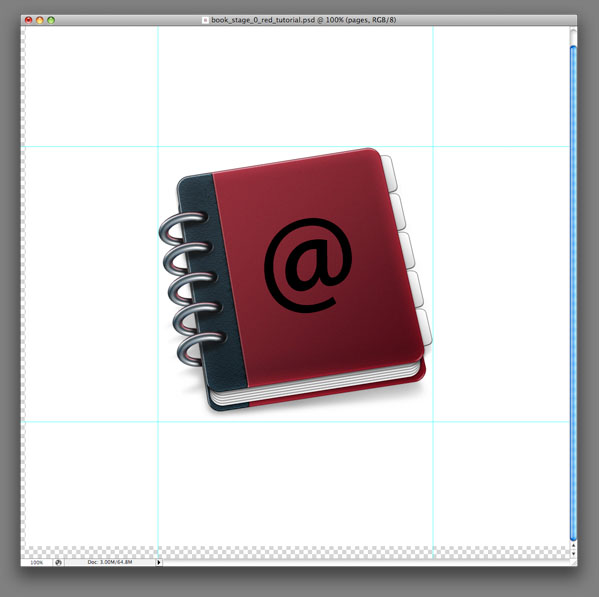
Step 35
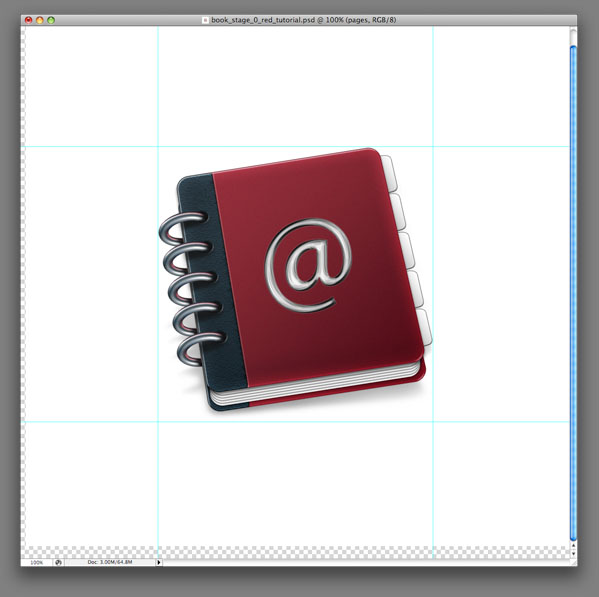
Now we’ve done the book. You can use it as replacement icon for many applications, but if we want to use it as Address Book, we should add one more detail. It’s going to be an at-sign as in original icon. So choose you favorite font (I love Myriad Pro), set the font size to 250pt and type the character "@."
Step 36
Then rotate the at-sign about 10° to the left…
Step 37
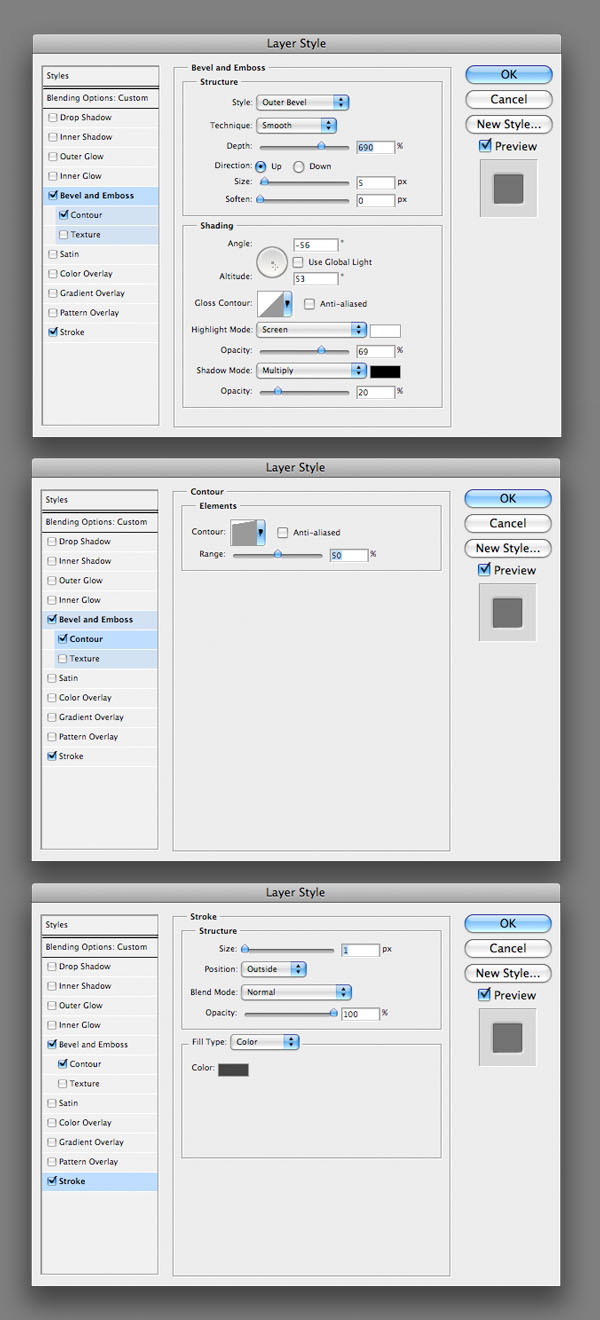
…and apply these settings.
Step 38
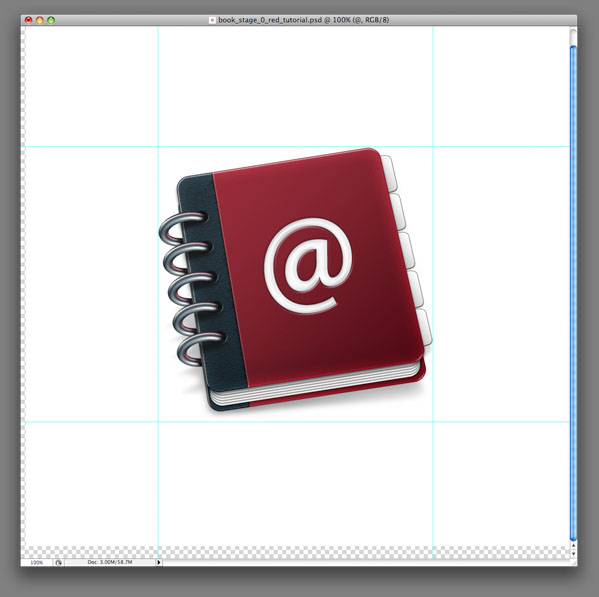
Copy the at-sign, move it a few pixels up, and a few pixels right. Clear the layer style, change the color to white, and apply the new settings. Don’t forget to set the Opacity to 80%.